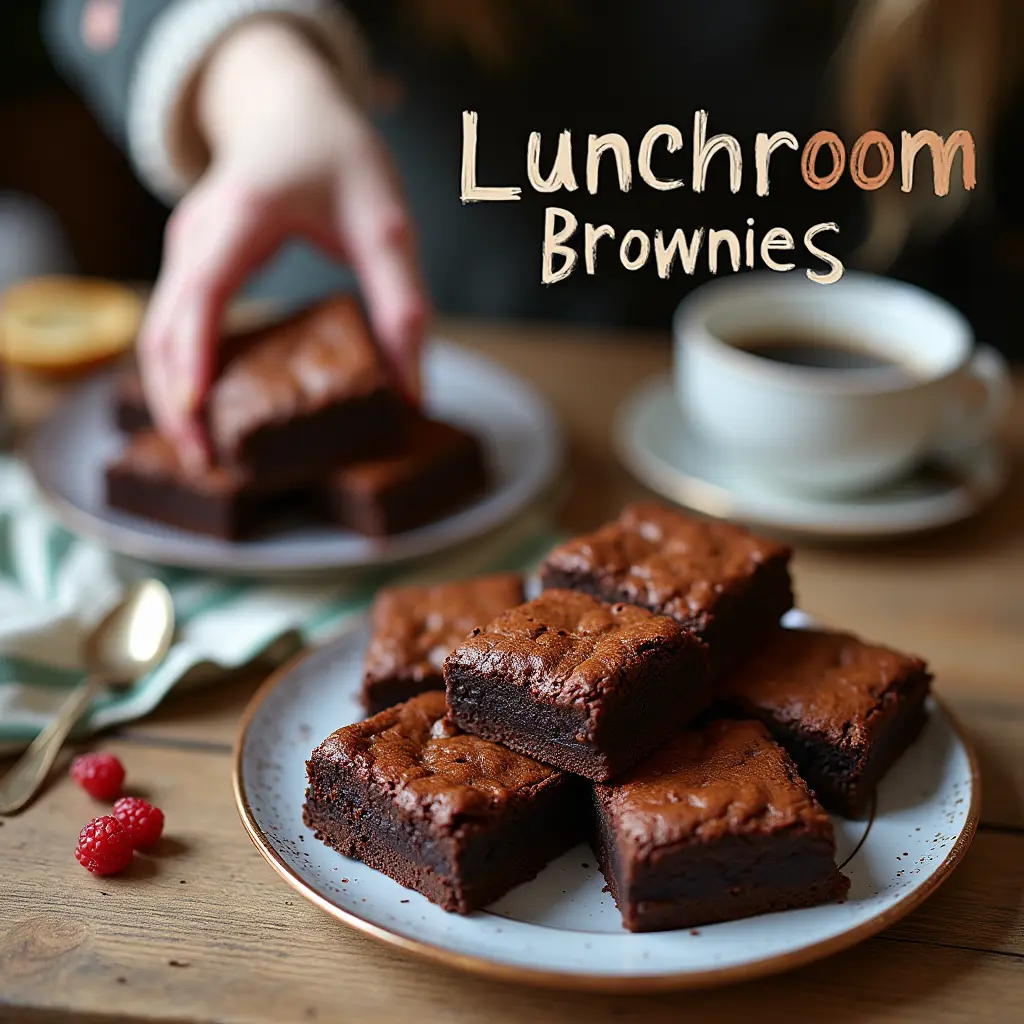
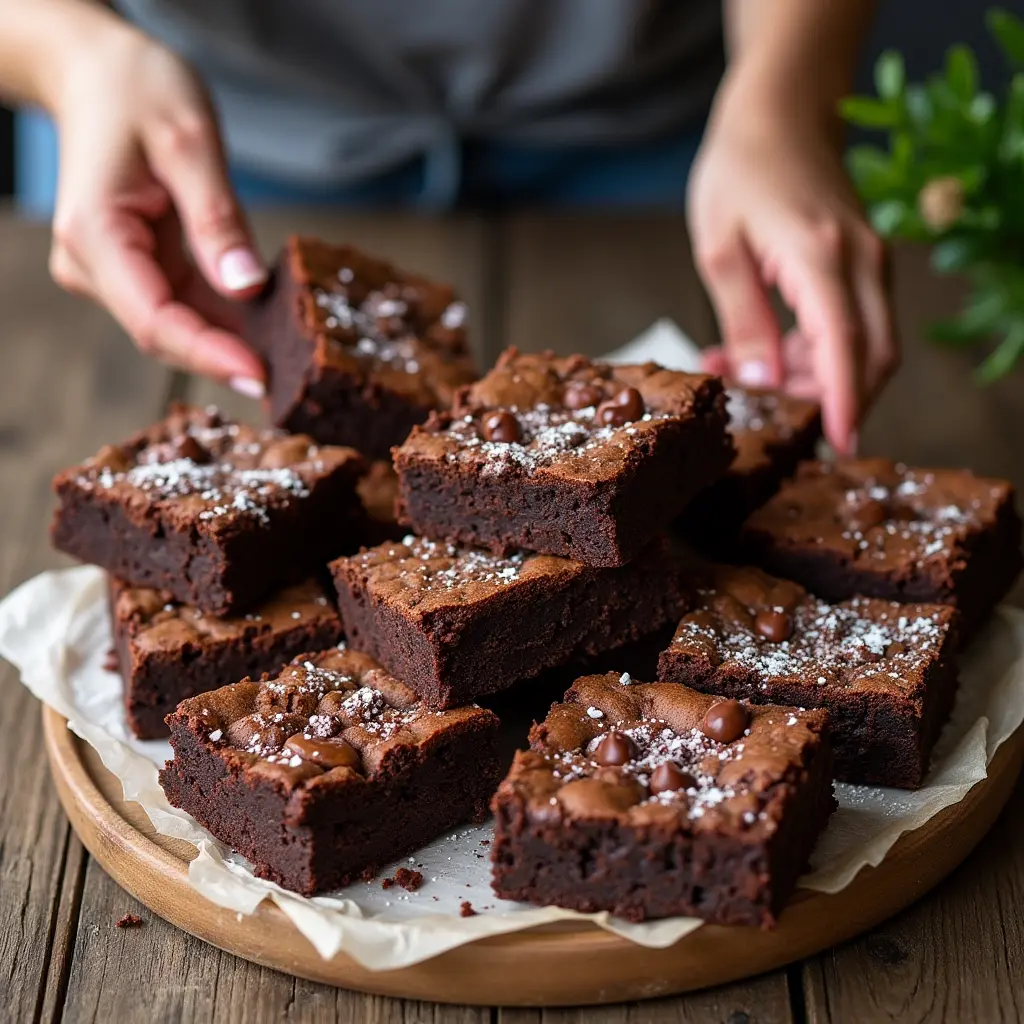
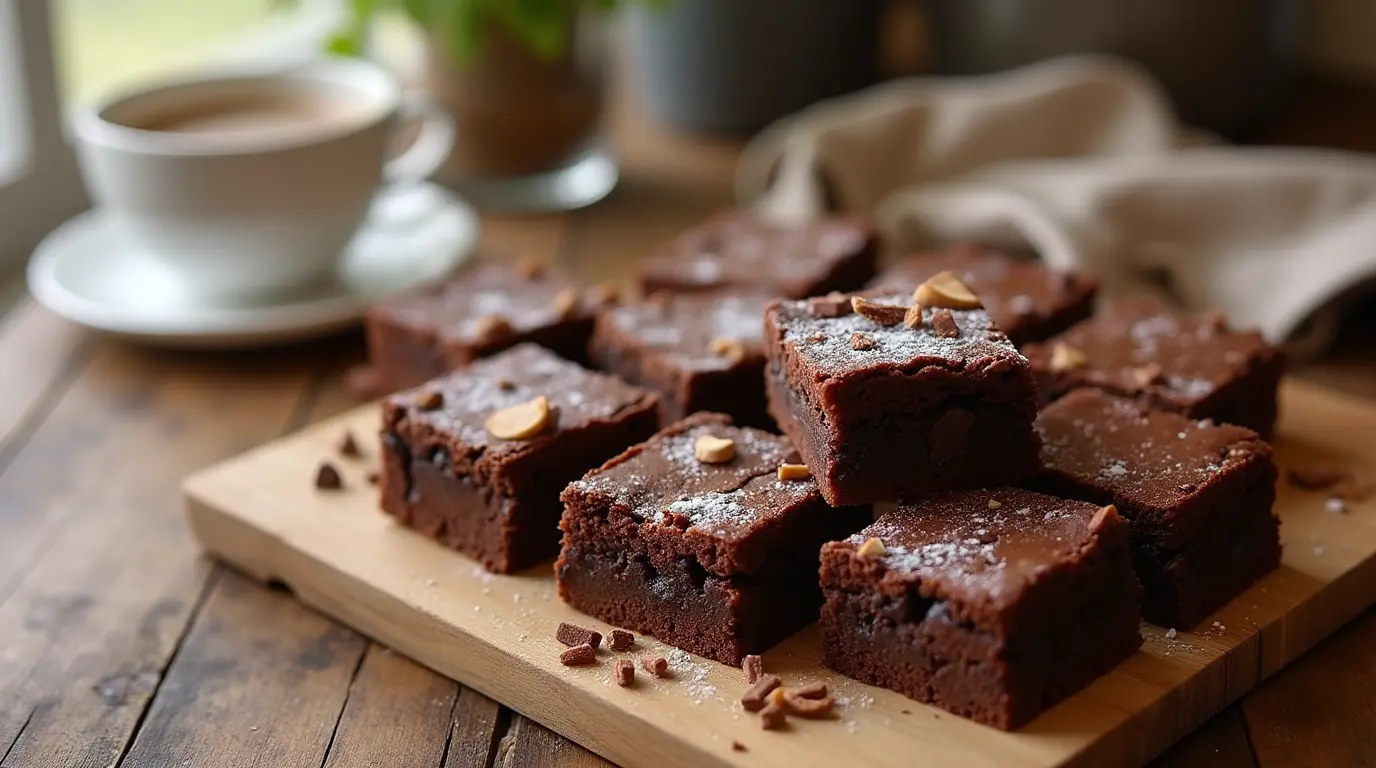
Do you ever find yourself reminiscing about those fudgy, decadent brownies served in your school cafeteria? The kind that were soft, slightly gooey in the middle, and topped with a dusting of powdered sugar? If so, you’re not alone! Those lunchroom brownies hold a special place in many of our hearts, and now, you can recreate that same nostalgic magic in your very own kitchen.
In this article, you’ll learn how to make classic lunchroom brownies at home simple, sweet, and full of memories. Whether you’re craving a comforting treat for yourself or want to impress friends and family, these brownies are sure to hit the spot. Keep reading to find out everything you need to know about making the perfect lunchroom brownies, from essential ingredients to baking tips and fun serving suggestions.
Table of Contents
What Makes Lunchroom Brownies So Special?
The Perfect Fudgy Texture
What truly sets lunchroom brownies apart from other brownie recipes is their irresistible texture. Unlike cakey brownies that can sometimes feel dry or crumbly, lunchroom brownies are known for their moist, fudgy interior that melts in your mouth. The perfect brownie has a chewy edge and a slightly gooey center, and achieving this texture is all about getting the ingredients and baking time just right.
Simple, Nostalgic Ingredients
One of the best things about lunchroom brownies is their simplicity. The ingredients are straightforward and accessible, yet they combine to create a flavor that’s hard to forget. From the deep richness of cocoa powder to the sweetness of sugar, every ingredient works in harmony to create a delicious treat.
What you need:
- Butter: The foundation for a rich, moist texture.
- Cocoa Powder: The source of that deep, chocolatey flavor.
- Sugar: Sweetness to balance out the richness.
- Eggs: To bind everything together and give structure.
- Flour: The bulk of the batter, providing the base.
The Iconic Taste of Childhood
The taste of lunchroom brownies brings back fond memories for many people—whether it’s sharing them with friends after a long school day or enjoying a sweet treat on a rainy afternoon. These brownies represent more than just a dessert; they are a reminder of simpler times and the joy of indulgence. The good news? You can recreate this taste in your own kitchen.


Essential Ingredients for Classic Lunchroom Brownies
First, gather a few essential ingredients to begin. These ingredients are key to achieving that classic lunchroom brownie texture and flavor. Let’s break them down.
Key Ingredients You’ll Need
Here’s a rundown of the core ingredients for the perfect lunchroom brownies:
| Ingredient | Amount |
|---|---|
| Butter | 1/2 cup (113g) |
| Cocoa Powder | 1/3 cup (40g) |
| Sugar | 2 cups (400g) |
| Eggs | 2 large |
| Flour | 1 cup (120g) |
| Baking Powder | 1 tsp |
| Salt | 1/4 tsp |
Optional Add-Ins for Extra Flavor
While these classic brownies are delicious on their own, you can easily customize them with a few add-ins to make them your own. Consider adding:
- Chocolate chips: For extra chocolatey goodness.
- Chopped nuts: Walnuts or pecans for a delightful crunch.
- Vanilla extract: A teaspoon of vanilla adds depth and warmth to the flavor.
Don’t hesitate to explore different flavors and textures to discover your ideal blend!
Step-by-Step Instructions to Make Lunchroom Brownies
Now that you’ve got your ingredients ready, it’s time to start baking! Follow these simple steps, and you’ll be enjoying fresh, homemade lunchroom brownies in no time.
Step 1: Prepare the Oven and Baking Pan
Preheat your oven to 350°F (175°C). While the oven is heats up, get your baking pan ready. Grease a 9×9-inch square pan with butter or line it with parchment paper to ensure the brownies don’t stick.
Step 2: Mix the Wet Ingredients
In a medium saucepan over low heat, melt 1/2 cup of butter. Once melted, remove from the heat and stir in 2 cups of sugar and 1/3 cup of cocoa powder. Add the 2 large eggs and beat until well combined. This mixture will form the base of your brownies and provide that deep chocolate flavor.
Step 3: Add the Dry Ingredients
In a separate bowl, sift together 1 cup of flour, 1 tsp of baking powder, and 1/4 tsp of salt. Slowly incorporate the dry ingredients into the wet ingredients, stirring until they’re combined. Be careful not to overmix, as this can affect the texture of your brownies.
Step 4: Pour and Bake
Transfer the batter into the prepared baking pan, spreading it out evenly. Bake in the preheated oven for about 25–30 minutes, or until the brownies are firm to the touch but slightly soft in the center. Use a toothpick to check for doneness if it comes out with just a few moist crumbs, they’re ready.
Step 5: Let Them Cool and Serve
After baking, take the brownies out of the oven and allow them to cool in the pan on a wire rack. Let the brownies cool for 15–20 minutes, then slice them into squares and enjoy! The brownies will firm up a bit more as they cool, making them easier to cut.
Tips for the Best Lunchroom Brownies
While making lunchroom brownies is straightforward, there are a few key tips to keep in mind to ensure they turn out perfect every time.
Don’t Overmix the Batter
When adding the dry ingredients to the wet mixture, stir gently until they are just combined. Overmixing the batter can cause the brownies to become dense and tough. You want to maintain that fudgy, soft texture, so be gentle with your mixing.
Perfecting the Baking Time
Timing is essential to get the perfect texture for your brownies. If you like a gooey center, take the brownies out of the oven when the edges are set but the center is still slightly soft. For firmer brownies, let them bake for an additional 5 minutes.
Letting the Brownies Cool
Patience is key when it comes to cutting brownies. Allow them to cool completely in the pan before slicing into squares. Letting them cool fully ensures they hold their shape and don’t crumble when you slice them.
How to Store Lunchroom Brownies
Storing for Freshness
For optimal freshness, keep your brownies in an airtight container at room temperature for up to 3 days. If you prefer a firmer texture, you can store them in the refrigerator, but they may lose some of their moistness.
Freezing for Later
Lunchroom brownies freeze well, so if you have leftovers or want to make a double batch for later, wrap them tightly in plastic wrap and freeze for up to 3 months. To thaw, simply leave them at room temperature for about an hour.
Fun Ways to Enjoy Your Lunchroom Brownies
While these brownies are delicious on their own, here are a few fun ideas to elevate your brownie experience:
Serve with Ice Cream or Whipped Cream
Top your brownies with a scoop of vanilla ice cream or a dollop of freshly whipped cream for an indulgent dessert. The warm brownies paired with cold ice cream create a heavenly contrast.
Make Brownie Sundaes or Parfaits
Layer brownies with your favorite ice cream, whipped cream, and toppings like sprinkles, nuts, or chocolate sauce for an epic brownie sundae or parfait.
Nutritional Information for Classic Lunchroom Brownies
If you’re curious about the nutritional value of your homemade lunchroom brownies, here’s a breakdown of the approximate values per serving. This will help you enjoy your treat while being mindful of what’s in it. Keep in mind that these values may vary depending on the exact ingredients and portions used.
Nutritional Information (Per Serving – 1 Brownie Square)
| Nutrient | Amount per Serving |
|---|---|
| Calories | 250 kcal |
| Total Fat | 12g |
| Saturated Fat | 7g |
| Total Carbohydrates | 30g |
| Sugars | 25g |
| Protein | 3g |
How to Adjust the Nutritional Information
If you’re looking to make your lunchroom brownies a bit healthier, here are a few tweaks you can consider:
- Reduce the sugar: Use less sugar or substitute some of the sugar with a natural sweetener like honey or maple syrup.
- Use a healthier fat source: Substitute butter with a healthier fat, such as coconut oil or avocado, to reduce the saturated fat.
- Make it gluten-free: As mentioned earlier, you can substitute the all-purpose flour with a gluten-free flour blend, which may slightly alter the nutritional content.
These brownies are a delicious treat, and by making a few adjustments, you can tailor them to meet your dietary preferences without sacrificing taste!
FAQ
Can I Make These Brownies Gluten-Free?
Yes! Just swap out the all-purpose flour with a gluten-free flour blend for a gluten-free version. Be sure to choose a blend designed for baking to maintain the texture of the brownies.
Can I Use Dark Chocolate Instead of Cocoa Powder?
Yes, you can. If you prefer dark chocolate, melt 4 oz of dark chocolate and use it in place of the cocoa powder. This will enhance your brownies with a deeper, more robust chocolate flavor.
How Do I Know When My Brownies Are Done Baking?
To test if the brownies are done, insert a toothpick into the center. If it comes out with a few moist crumbs (not wet batter), they are ready. The edges should be firm, while the center should still have a slight softness.
Can I Double the Recipe?
Yes, you can. If you want to make a larger batch, double the ingredients and bake in a 9×13-inch pan. Just be sure to check the brownies a few minutes later than the suggested baking time to ensure they’re fully cooked.
Conclusion
Enjoy Your Homemade Lunchroom Brownies
Now that you know how to make classic lunchroom brownies at home, it’s time to get baking! These brownies are the perfect way to bring a little nostalgia into your kitchen while indulging in a delicious homemade treat. Whether you enjoy them on their own or with a scoop of ice cream, you’ll be sure to savor every bite.
Give this recipe a try and share it with friends and family. Once you’ve tasted these homemade lunchroom brownies, you’ll never go back to store-bought again!
How did you find this recipe?
There are no reviews yet. Be the first one to write one.

